Welcome to Wuhan Yoha Solar Technology Co., Ltd!
common problem
Site Map
Language:
 Chinese
 English
Welcome to Wuhan Yoha Solar Technology Co., Ltd!
common problem
Site Map
Language:
 Chinese
 English
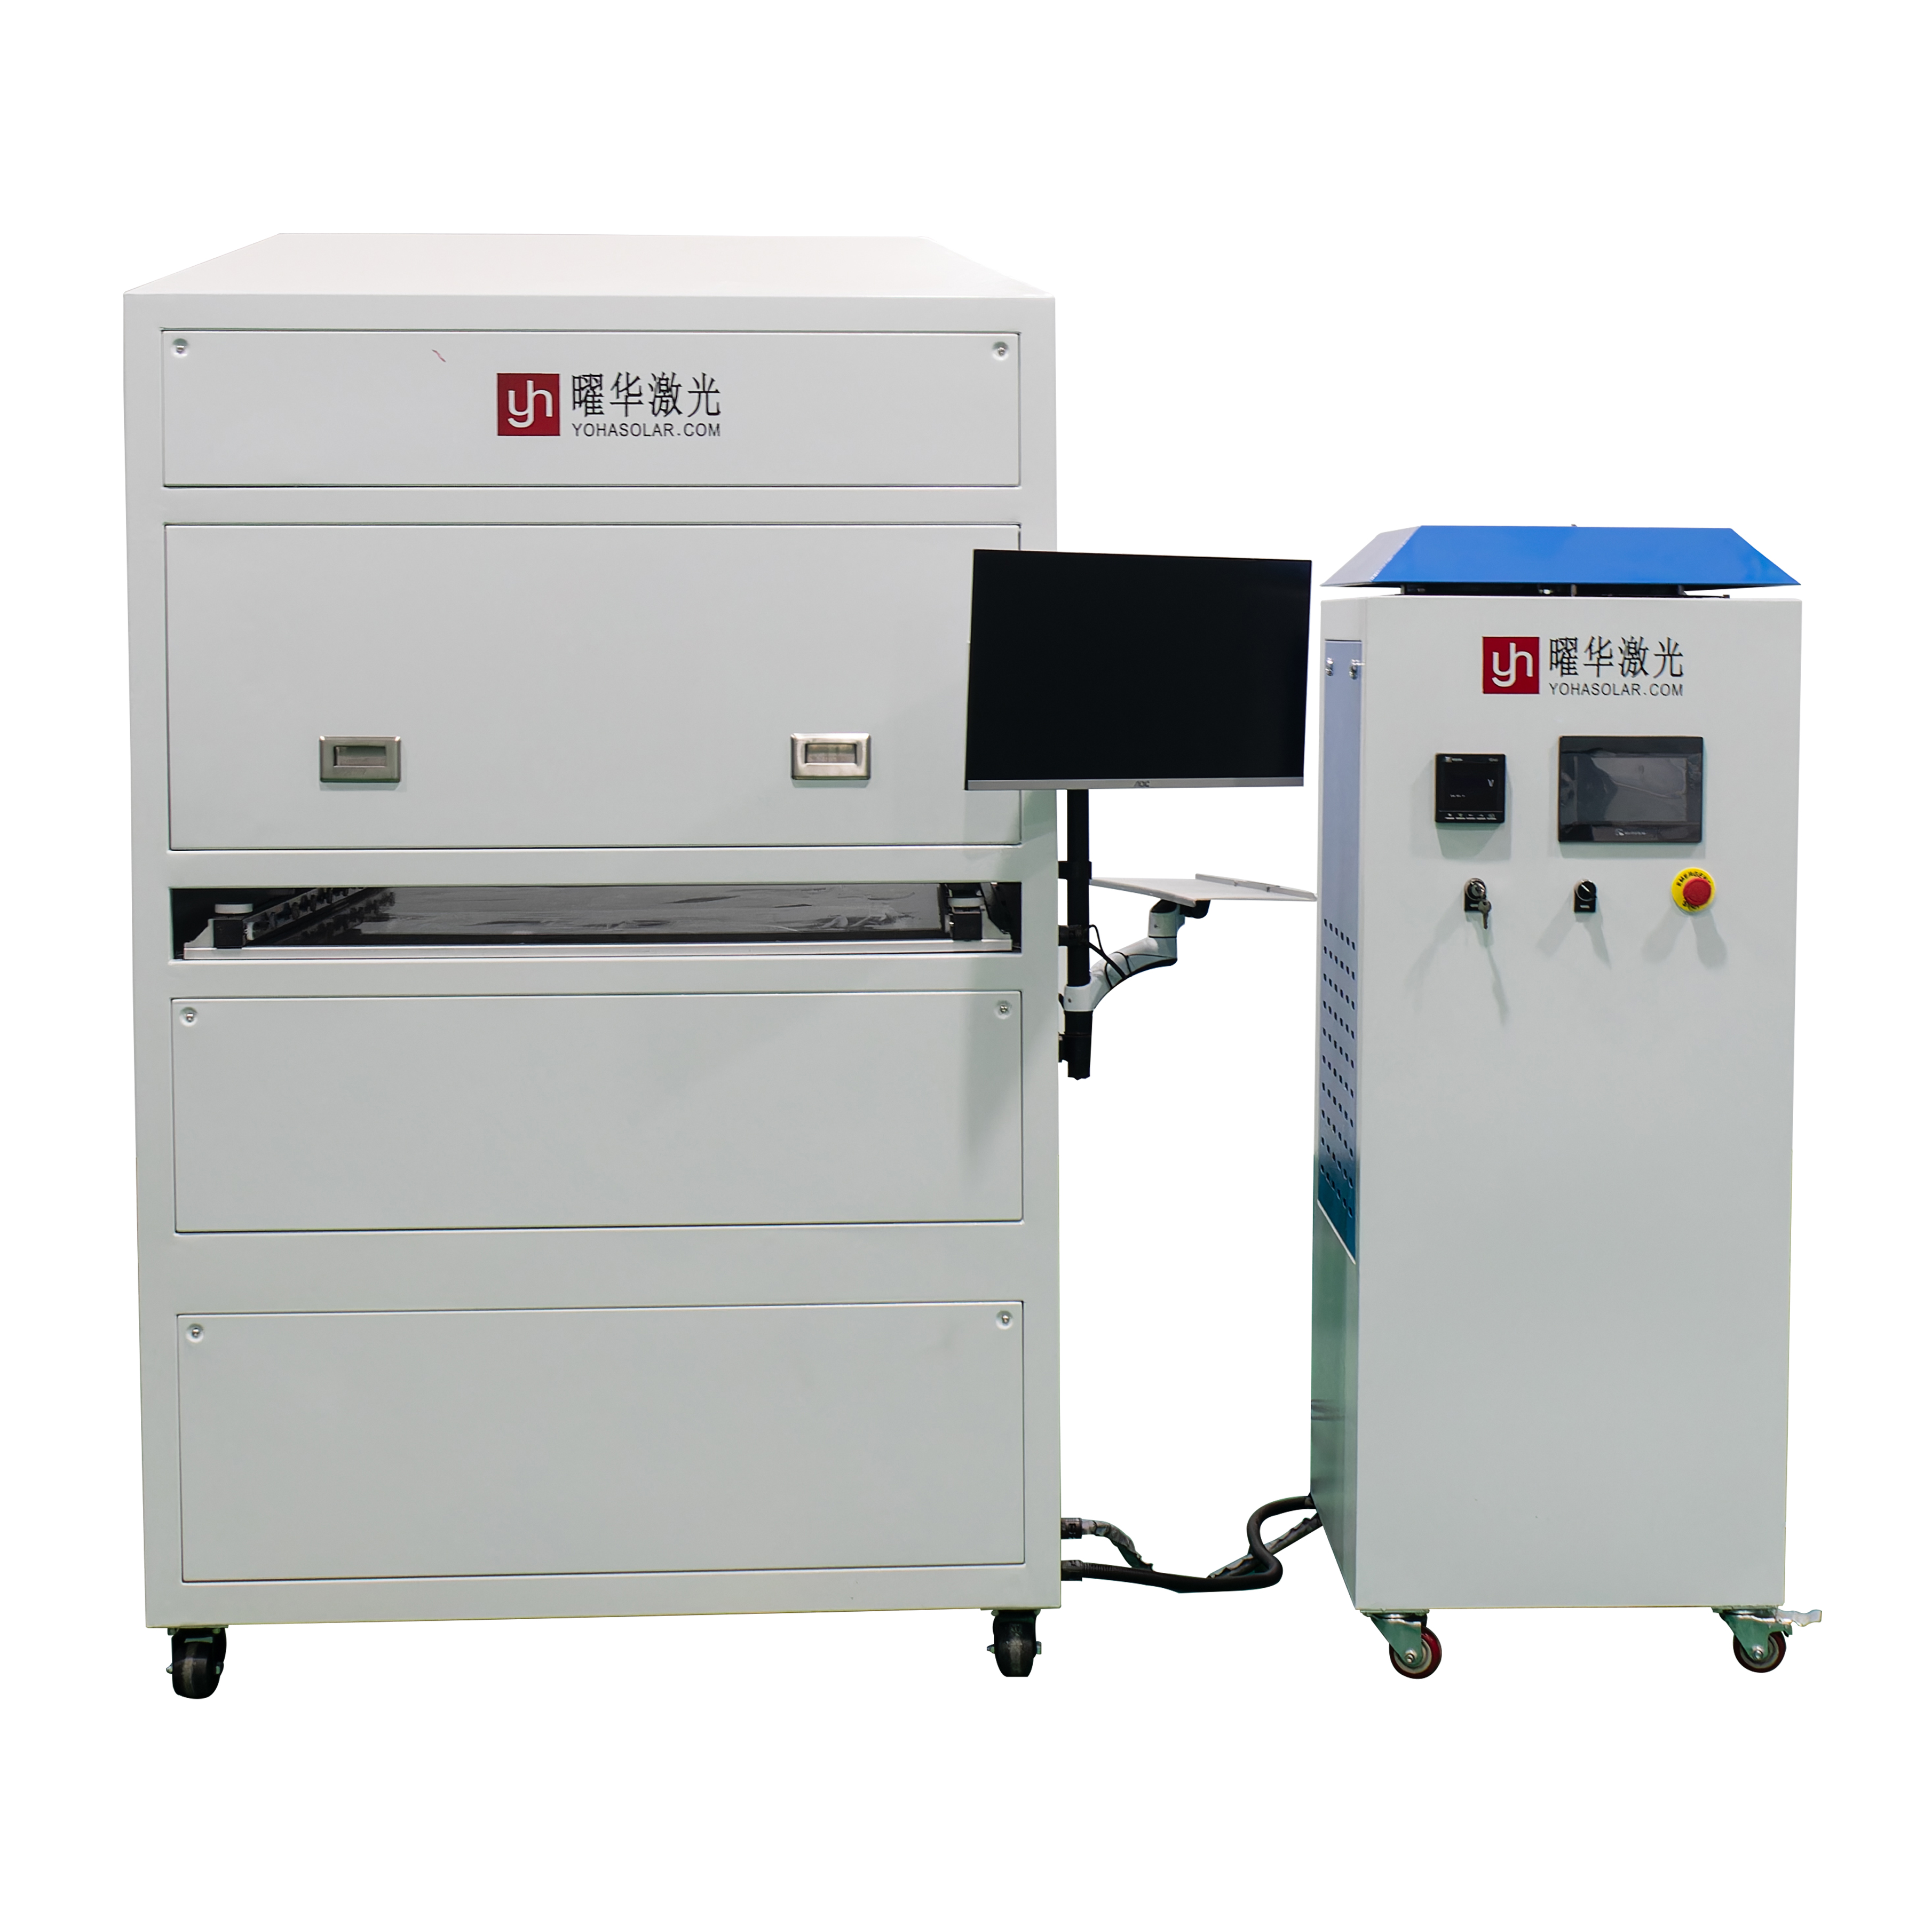
In the production and research and development of perovskite battery components, the IV tester is our indispensable "data manager", which can accurately capture the current and voltage characteristics of the components and help us judge product performance. Many new colleagues may find the operation complicated, but in fact, as long as they clarify the steps and follow the process, they can easily get started. Today, in plain language, I will guide you through the operation process of the IV tester.
Firstly, the preparation work before starting up is like checking the condition of the car before driving, which cannot be taken lightly. First, confirm that the power and data cables of the tester are securely plugged in without any looseness or damage. Perovskite components are relatively special and sensitive to the environment, so it is necessary to control the temperature of the testing environment at around 25 ℃ and the humidity at 40% -60% in advance to avoid moisture or high temperature affecting data accuracy. Next, place the component to be tested in the designated position, ensuring that the surface of the component is clean and free from dust or stains that may obstruct the light receiving surface. Then, clamp the positive and negative electrode clamps of the tester onto the positive and negative terminal posts of the component, ensuring stability and avoiding poor contact.

After completing the preparation work, you can start the machine. First, turn on the main power switch of the tester and wait for the instrument to self check. This process takes about 30 seconds, and the screen will display a "self-test passed" prompt. If an error occurs, first check the connection between the power and data cables, troubleshoot the problem, and then restart the device. After completing the self-test, enter the operation interface and select the "Perovskite Component Test" mode - be careful not to choose the wrong testing mode for crystalline silicon components. The characteristics of the two batteries are different, and if the mode is wrong, the data will be inaccurate. Then, based on the parameters of the component to be tested, input basic information such as rated power and open circuit voltage on the interface. These data can be found on the production order of the component and must be accurately entered.
After setting the parameters, we move on to the core testing phase. First, click the "Preheat" button on the interface to let the light source and detection module of the tester enter a stable state. The preheating time is usually 5-8 minutes. Wait patiently, this step can reduce testing errors. After preheating is completed, click "Start Test", and the tester will automatically emit simulated sunlight while collecting real-time current and voltage data of the components. During the testing process, do not touch the components and electrode clamps, and do not block the light source, otherwise it will interfere with data acquisition. The entire testing process takes about 10 seconds, and the IV curve will be generated synchronously on the screen. The smoothness of the curve can intuitively reflect the performance stability of the component.
After the test is completed, do not rush to remove the components, save the data first. Click "Save" on the user interface to export the data to Excel format for easy analysis in the future. After saving, click "Stop" and wait for the light source and fan of the tester to turn off before turning off the main power. Finally, remove the electrode clamp from the component, clean the testing table, and return the instrument to its original position.
Here are a few small details to remind everyone: it is best to calibrate the light source intensity of the tester before each use to ensure uniform testing conditions; If abnormal curves are encountered during testing, first check if the component wiring is correct, and then restart the instrument to try again; The instrument should be regularly maintained to prevent dust from entering the interior and affecting accuracy.
In fact, the operation of the IV tester is not as complicated as imagined, the key is to make each step detailed and stable. After familiarizing yourself with the process, you will find that it is like a reliable assistant, helping us accurately control the quality of perovskite components. As long as you operate a few more times, you can easily master the skills involved.
keywords:TOP
18086473422
MESSAGE
